

We’re just getting started with grazing incidence measurements on our MOUSE instrument. These measurements require mounting a sample (typically a wafer or glass slide), so that its surface is at glancing incidence with respect to the primary X-ray beam. Previously we have tried using LEGO tiles for this, but now we are looking at something a bit more suitable for the long term. We experimented a bit with sample holders, and came up with something pragmatic…
As far as my very limited knowledge goes, for grazing incidence samples, custom-made sample holders are the norm. And while we have an excellent workshop who would happily churn out many such sample holders for our needs, we searched a bit for existing solutions in the hope of starting a trend.
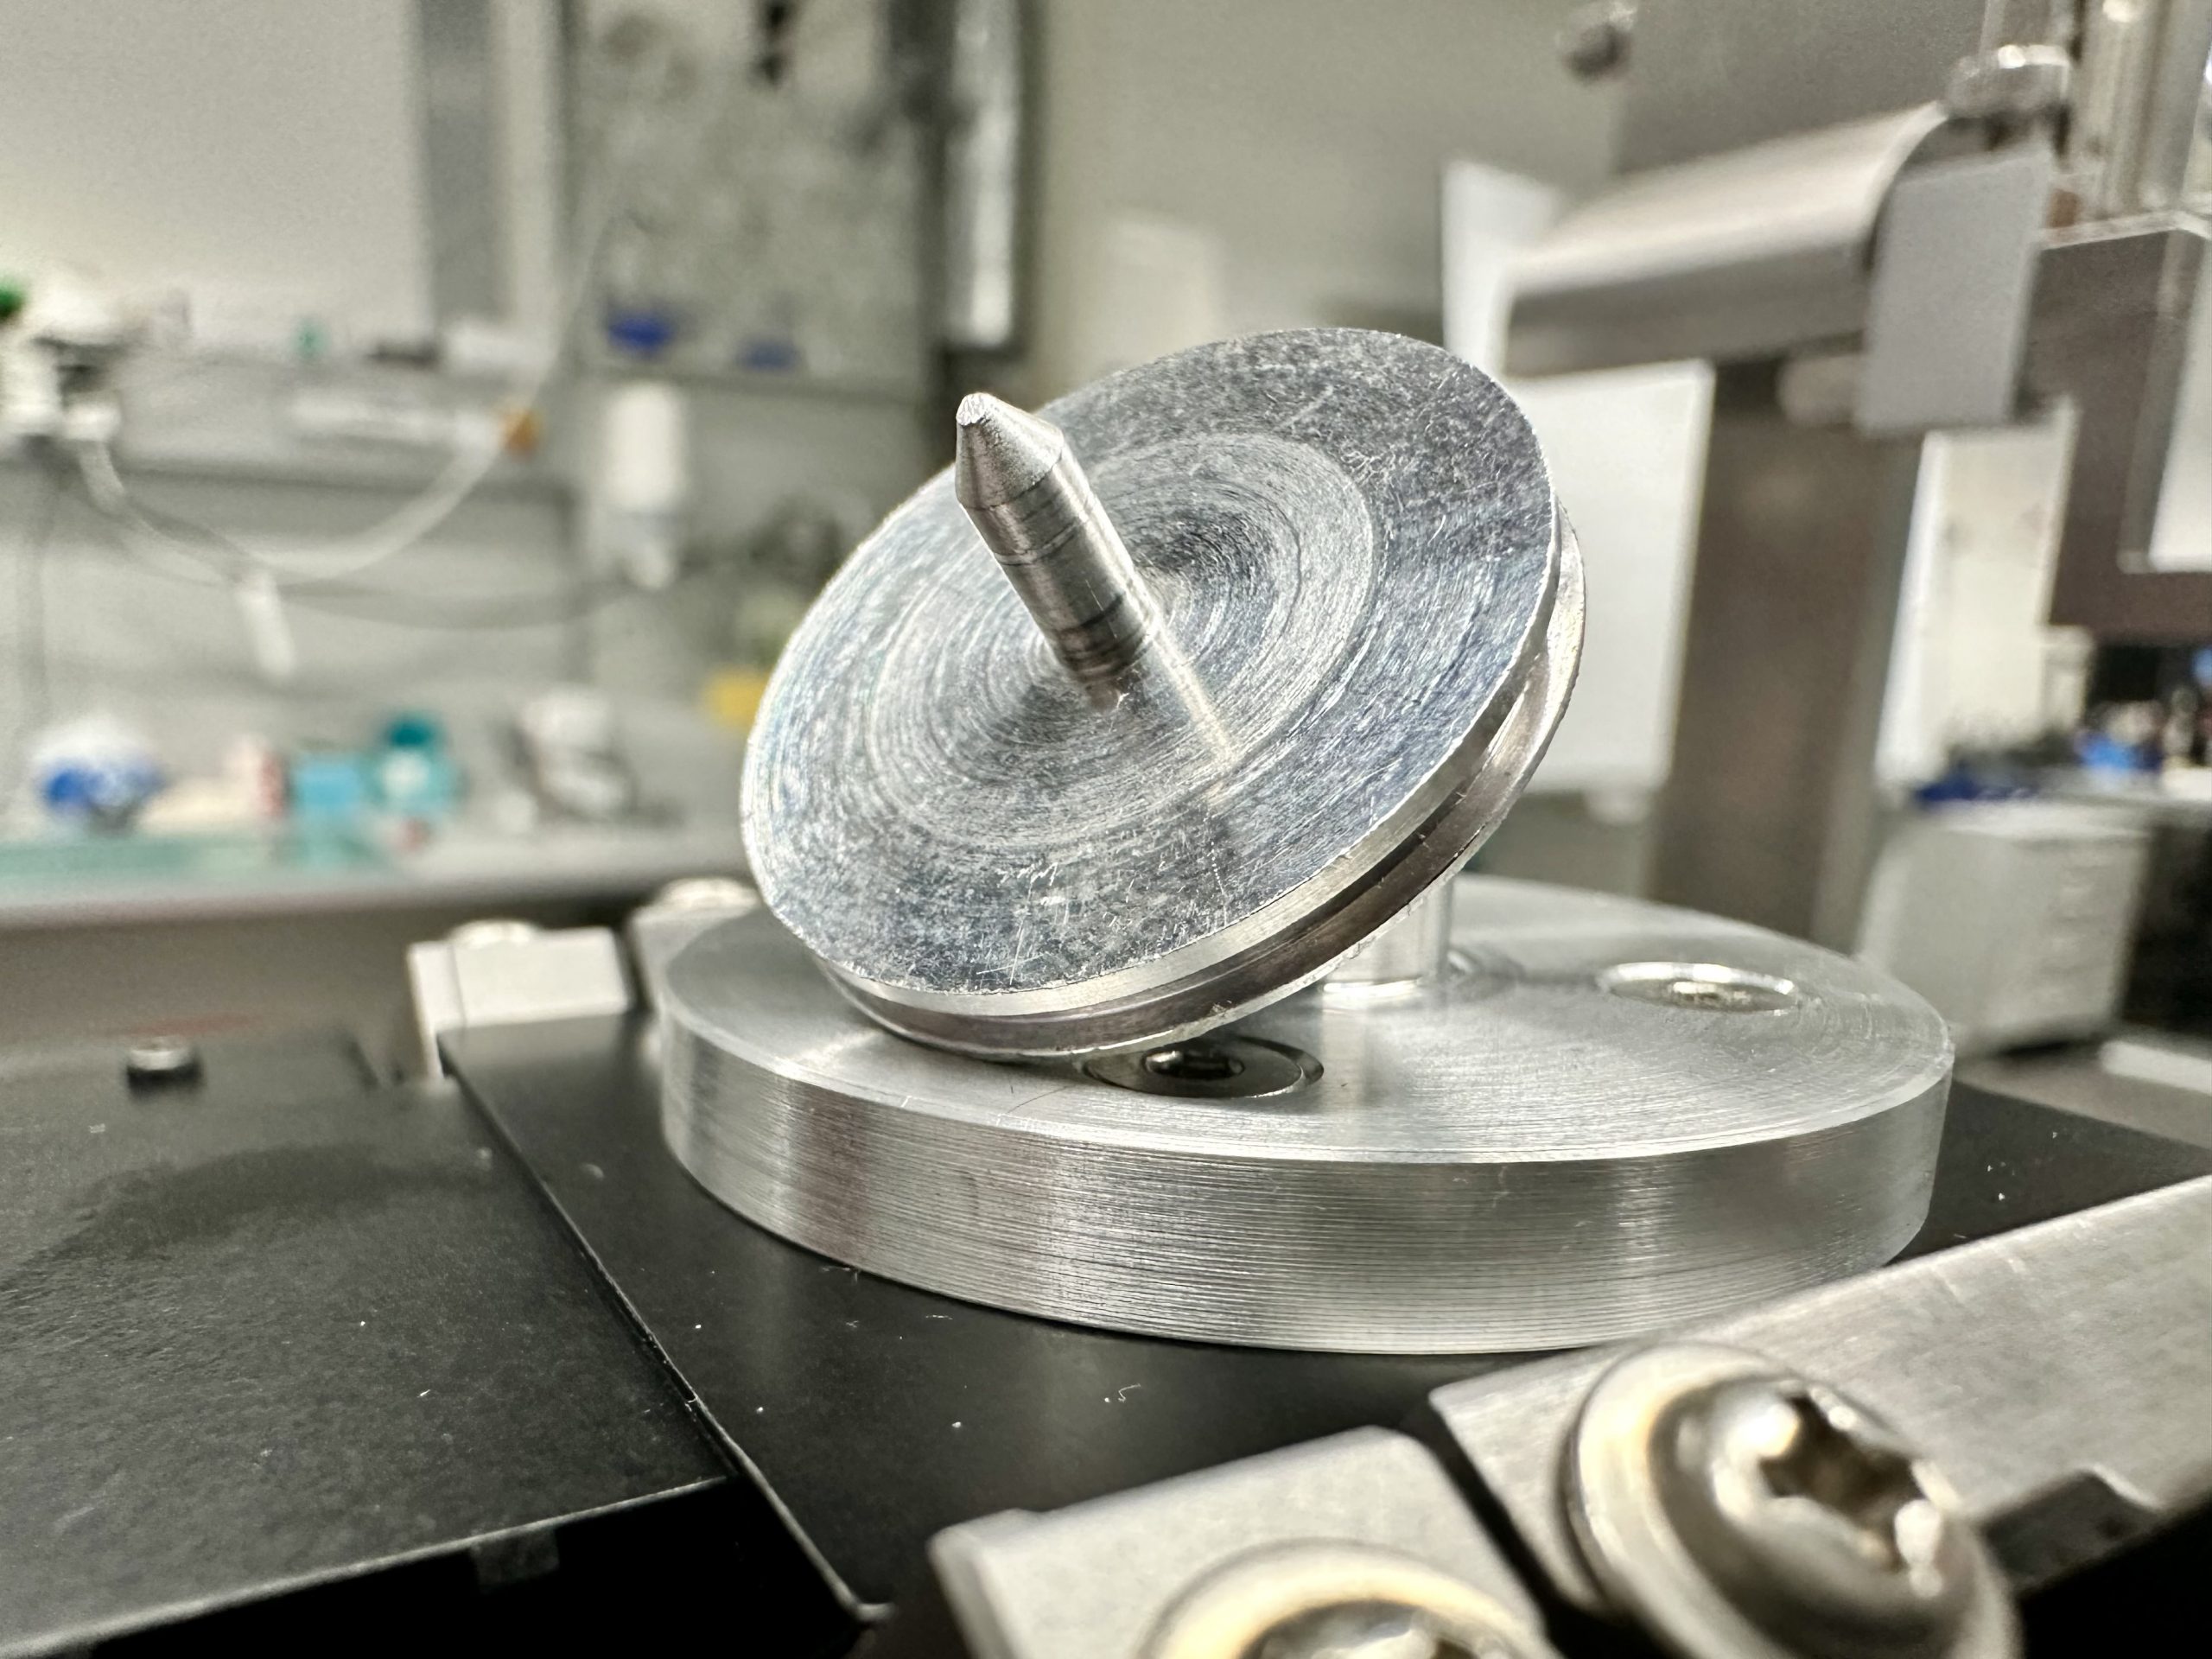
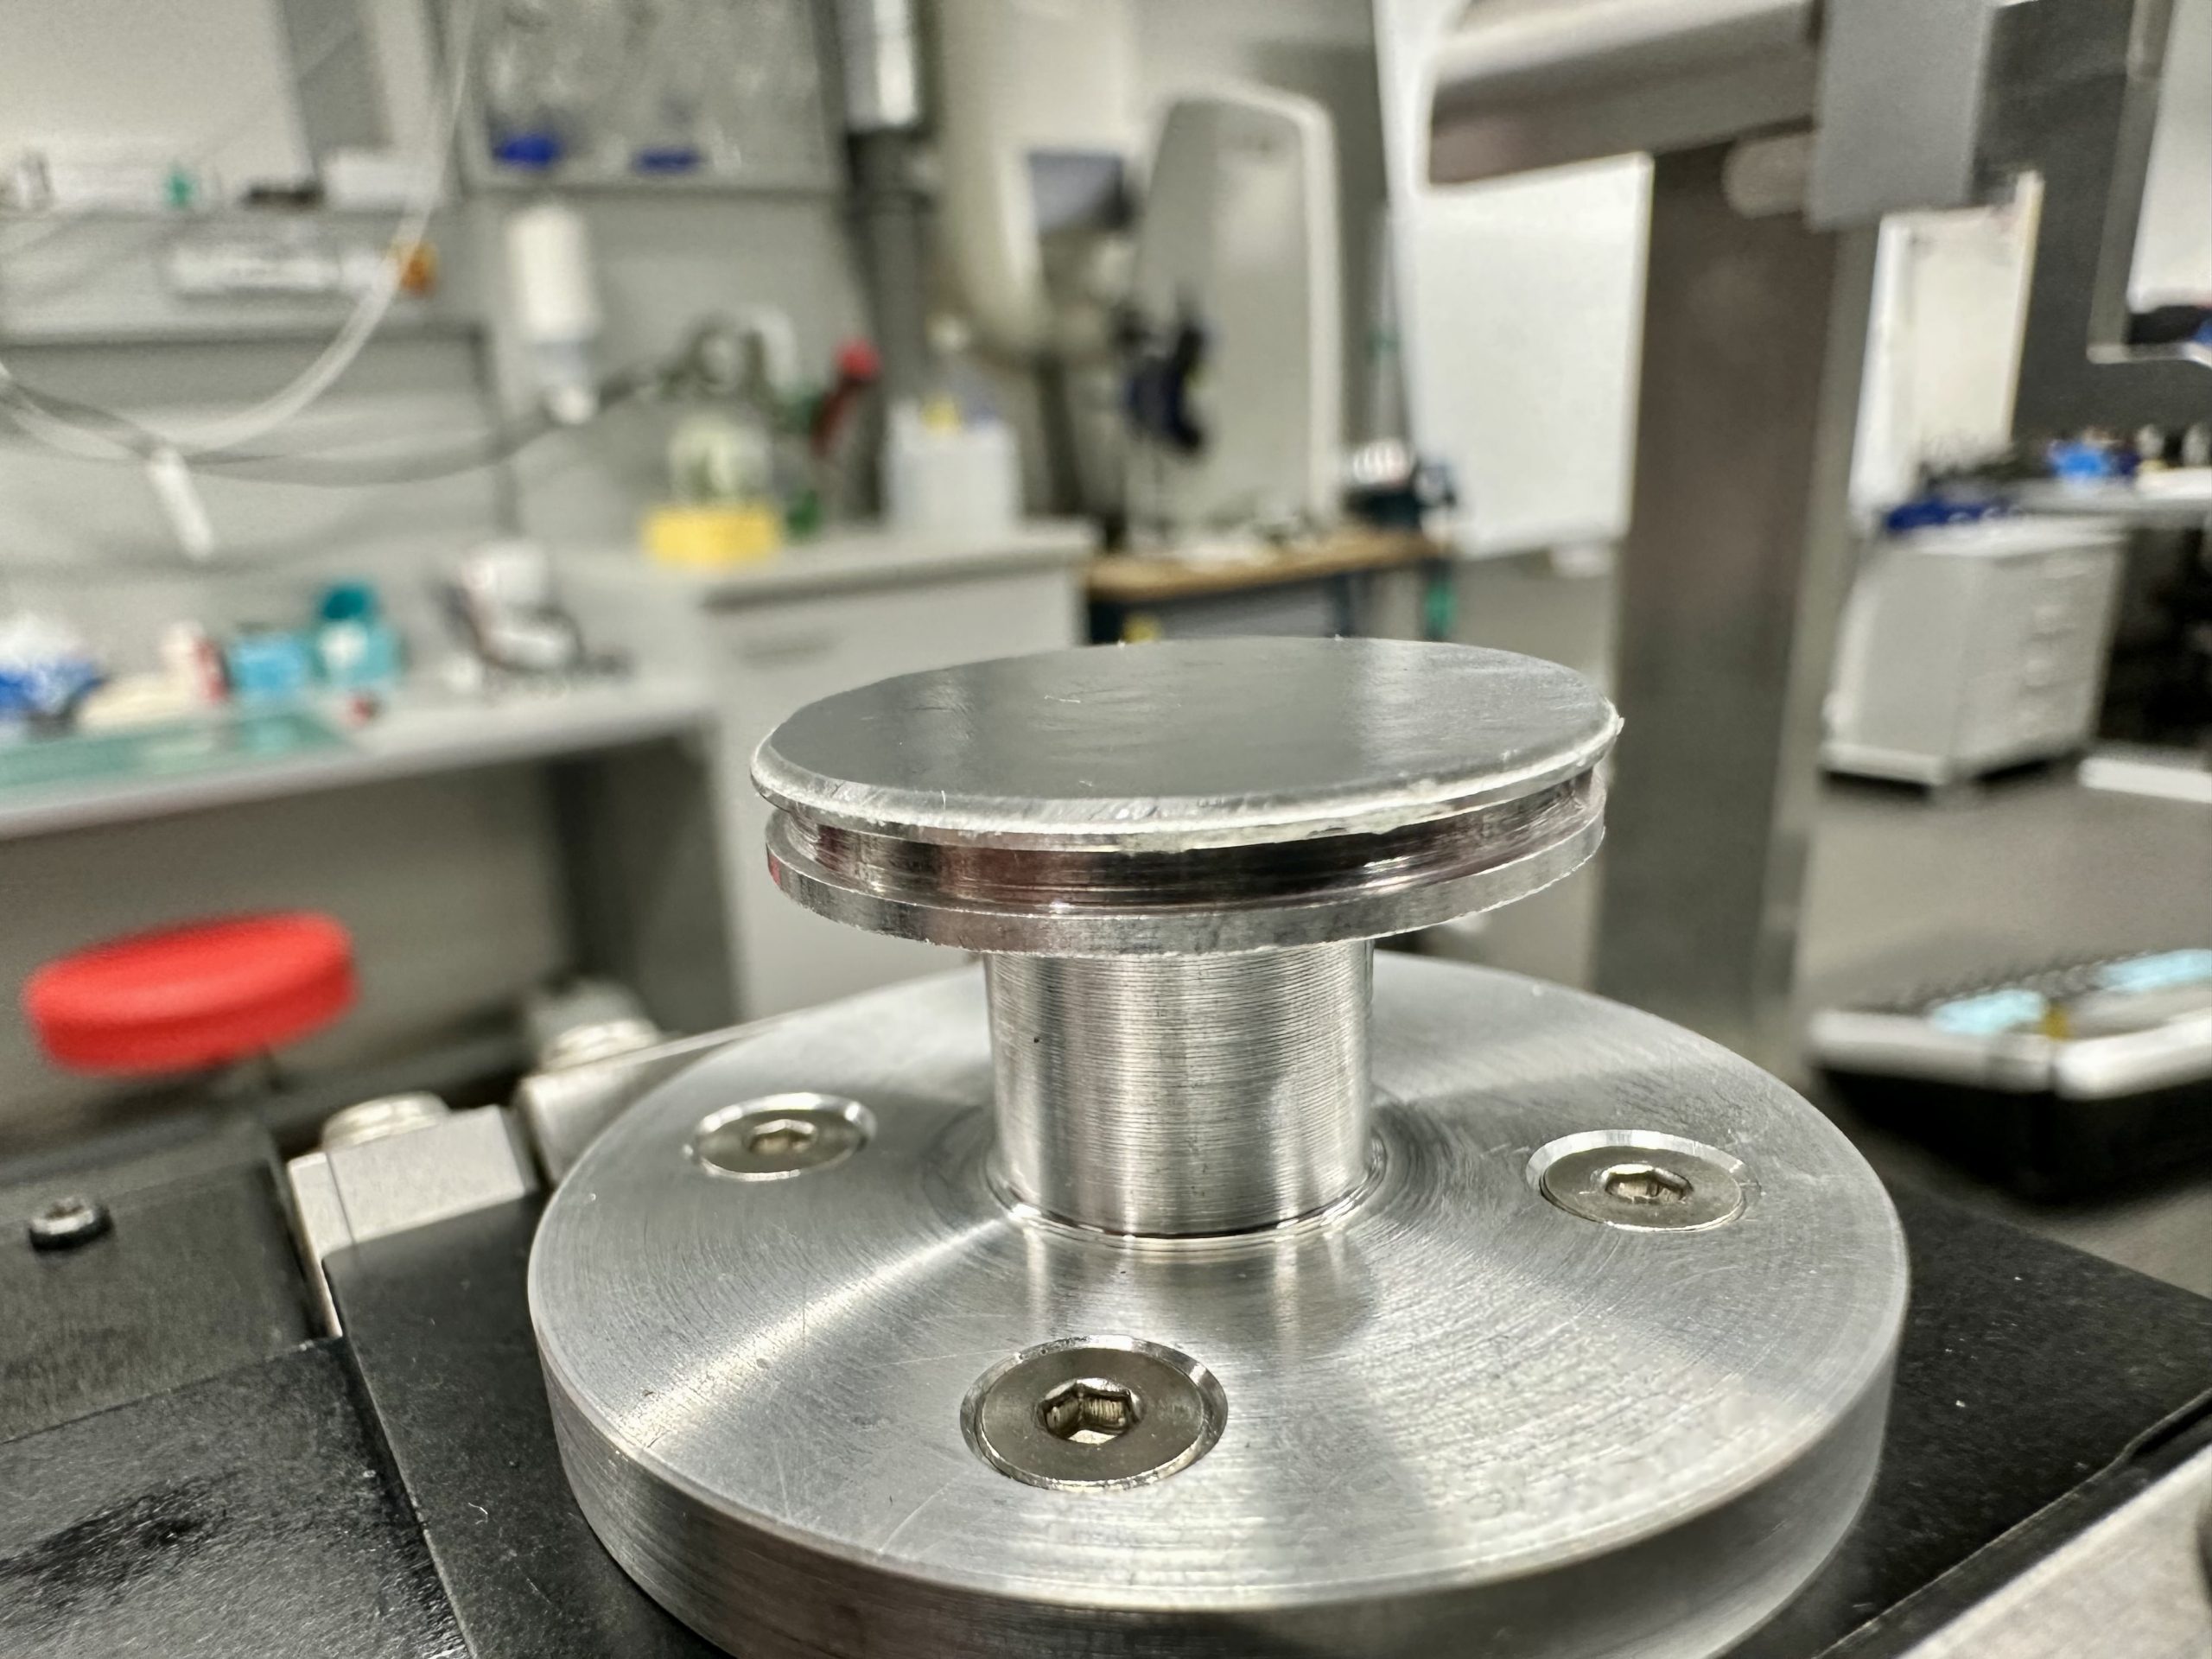
So after scrounging various labs, we went for the “stubs” used in scanning electron microscopy (SEM). They can be bought from here, for example, but in our case a microscopist colleague had collected quite a few over the years. These are circular, aluminium holders with a flat surface and a small mounting pin, for which a range of accessories exist to handle, mount and transport the samples. The surfaces on the stubs come in various sizes, we went for one with a 25mm diameter top. These will make for good mounts with the one disadvantage being that they are not indexed, meaning that they can be freely rotated and do not always point in the same direction. Maybe something that can be solved at a later stage with magnets or an indexing pin if this turns out to be a necessity.
Then we had to come up with a way to mount the wafer on top that does not risk tilting or bending the wafer when mounting, fixes the wafer reasonably well, but also allowing us to nondestructively detach the wafer again. After considering double-sided tape and the likes, we instead went for the following:
We covered the surface of the stub with a very thin sheet of rubber (we have a lot of this in the lab, one side has a sticky layer allowing for easy mounting). The sides were cut off using a scalpel with the blade set at 45 degrees to chamfer the rubber edge.
Then, for mounting the wafer, we put a very thin layer of high-vacuum grease (we use this high viscosity Korasilon paste) on the rubber and press the wafer on lightly. According to our resident atomic force microscopist, such a mounting forms a nice stable mount, but may relax a little overnight. So for absolute wafer stability, prepare the samples the day before.
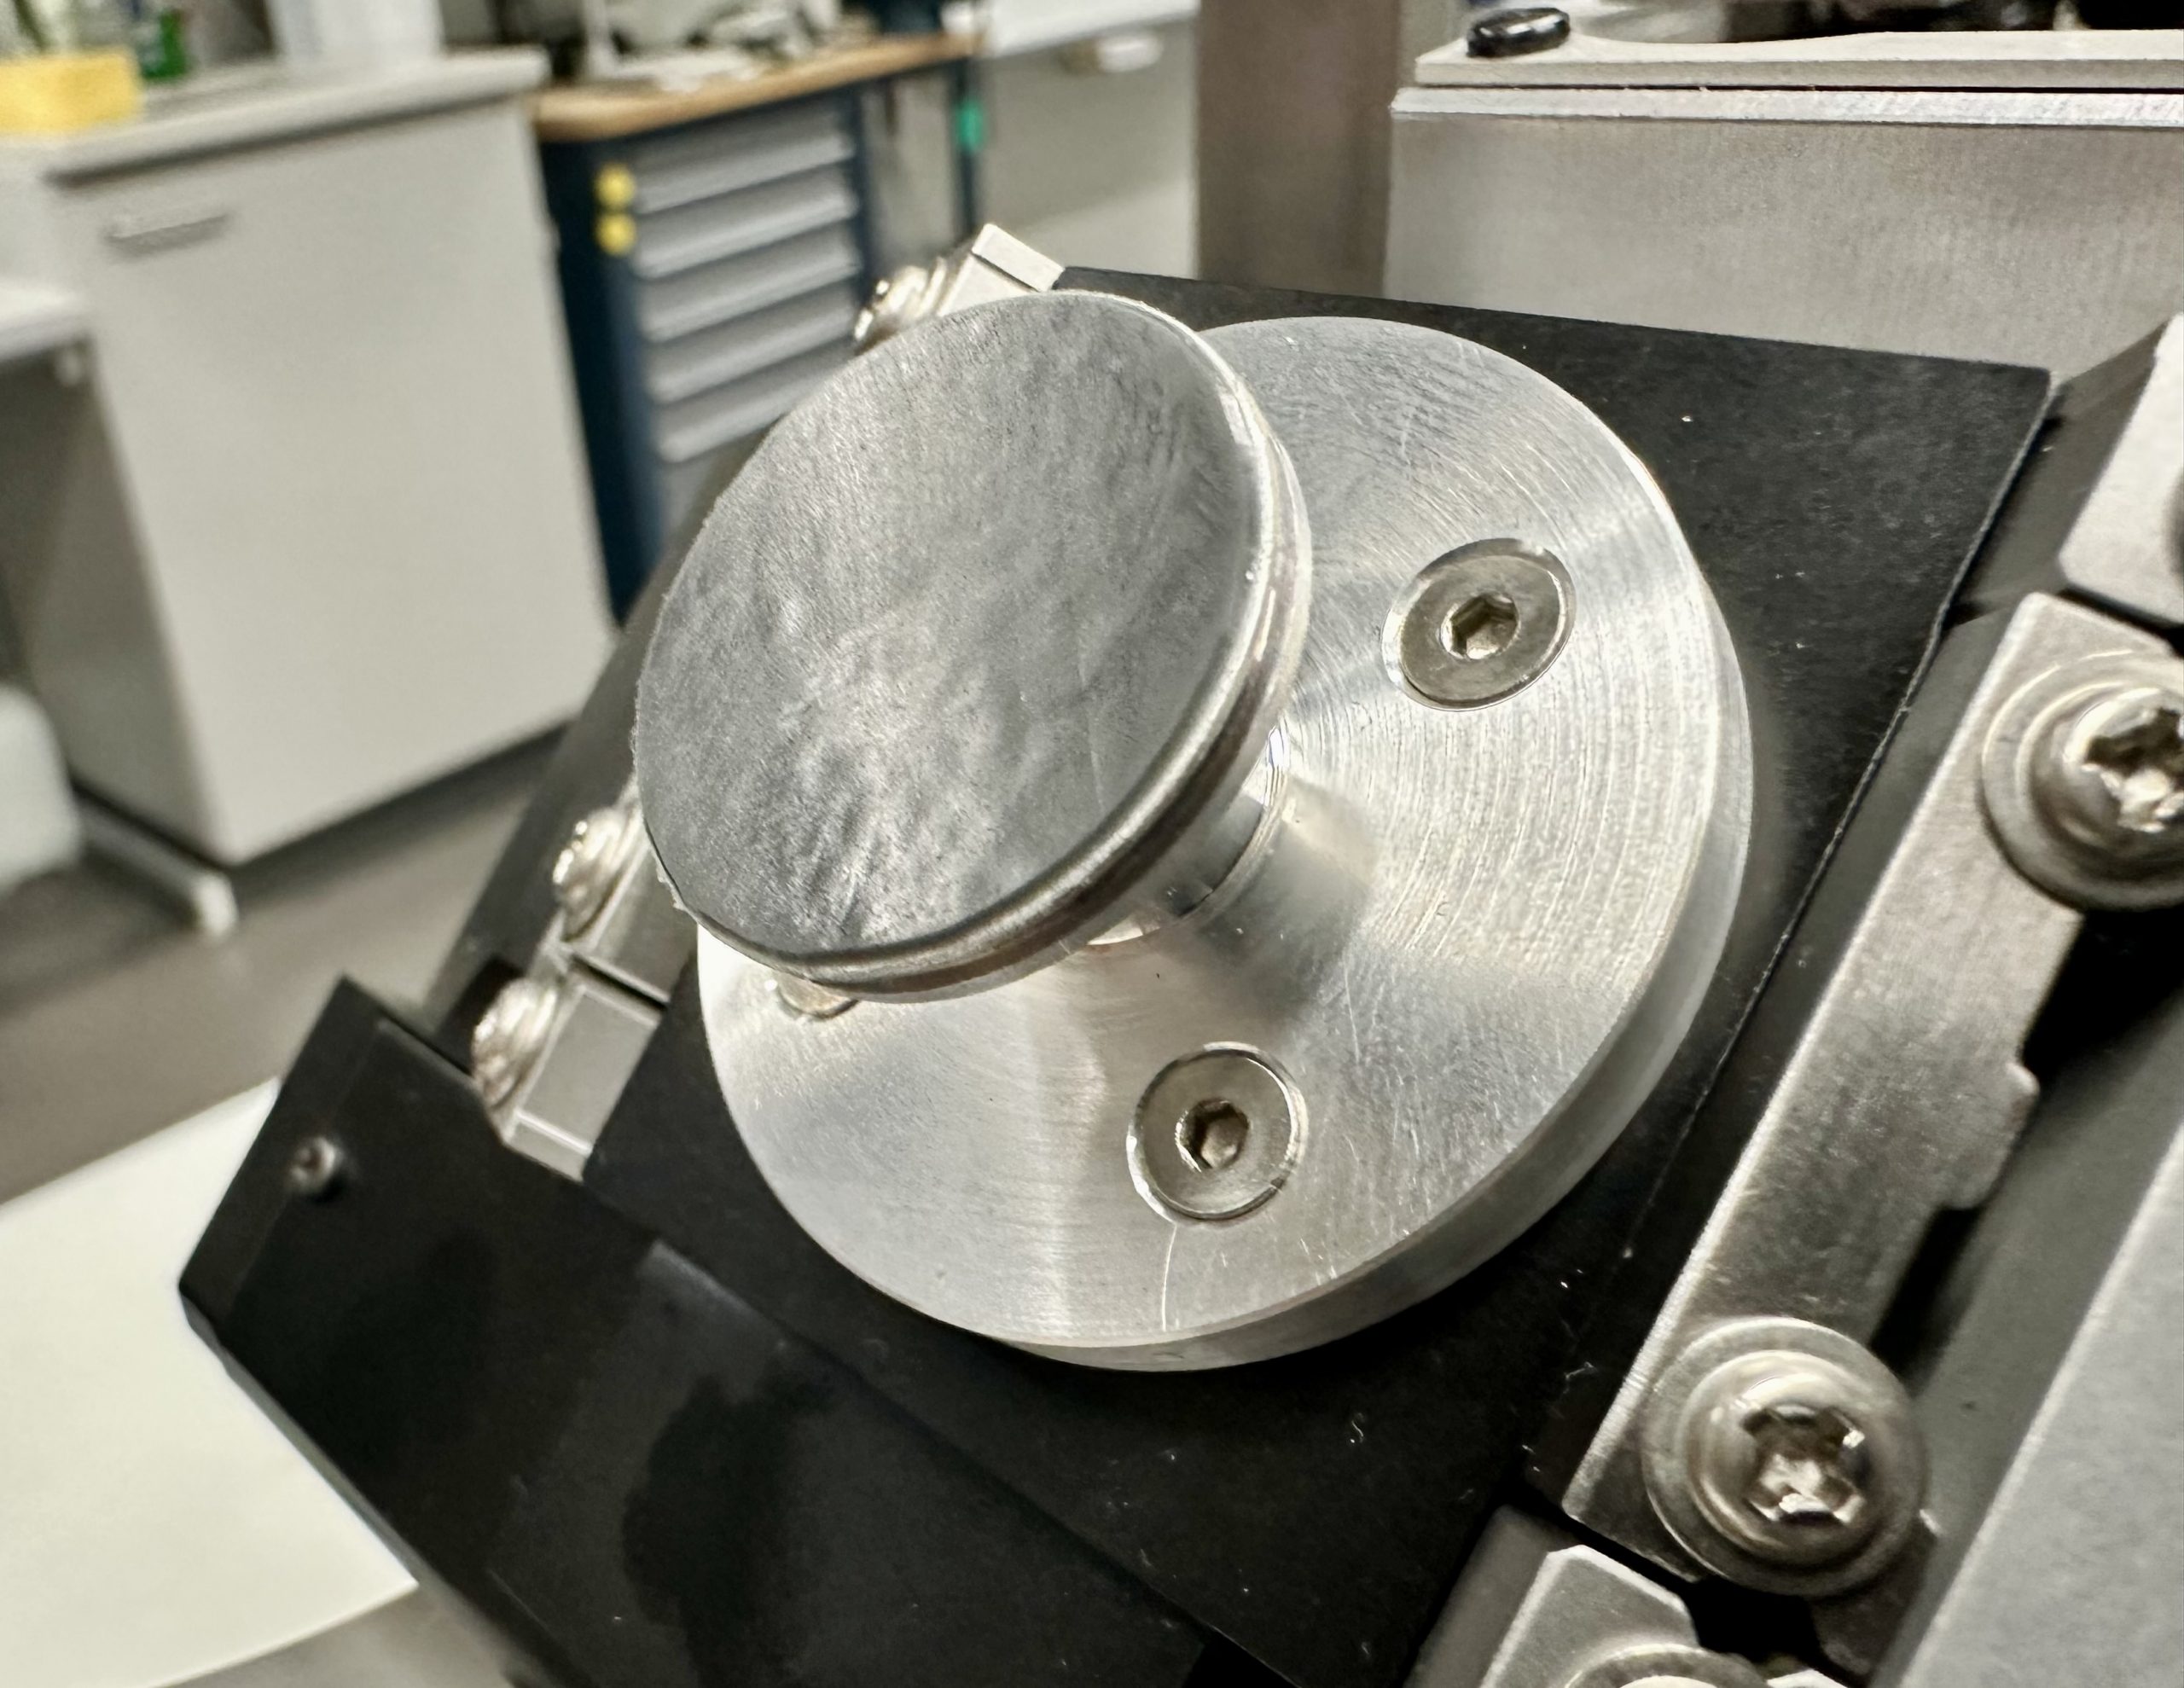
We tested this (without waiting more than 10 minutes) at the most extreme angles we could reach with our stage, and, indeed, the wafer stayed on the stub without any shifting. I even tried accelerating failure by performing an impromptu drum solo on the table, but no movement was evident. When removing the wafer, it was clear that the forces holding the wafer on are more than sufficient, detaching with a solid sticky pop.
We’ve now done a few tests in the MOUSE with this set-up and it seems to perform well. We’re now hoping to create a GI sample changer, either an electromagnetically-operated, two position slide that allows you to switch between two samples, or another design that would allow you to mount (perhaps) up to six samples at a time. Stay tuned for those developments!